Imagine this. Your team move to a larger office and on moving day, discover a bundle of rough-cut unterminated ehternet cables on one end, ripped-out punch-down jacks on the other, and no Wi-Fi!
You haven’t got an IT team so who you gonna call? Not ghostbusters! You could call us here at Geekabit to come out and fix your new premises Wi-Fi woes and get your office online super quick.
Or if you’re lucky enough to have your own in-house software engineer, they might be able to get you a reliable network running fast.
Either way, here are some suggestions that could help you get back online.
Use one SSID for automatic roaming
Multiple access points and multiple bands (2.4 GHz and 5 GHz) should share the same Service Set Identifier. They must have exactly the same security settings (same password, exact same mode, i.e. WPA2-PSK Personal) for clients to be able to automatically roam between APs.
In simple terms, use one Wi-Fi network and make it easy for users to connect within overlapping coverage ranges so that they don’t have to manually connect and disconnect (this would cause a bad user experience).
Statically assign Wi-Fi channels
Automatic Wi-Fi channel selection is problematic because the AP can change channels whenever it likes, which causes a global disruption in service for connected clients.
Statically assign different access points to different channels.
Back to interfering neighbours (they come up a lot don’t they?) Use a tool (such as the Wireless Diagnostics app built into macOS) to identify channels that aren’t in use by the people next door – This will avoid unnecessary interference.
Use non-overlapping channels. On 2.4 GHz, you should only be choosing channels 1, 6, or 11. On 5 GHz, it’s not quite so easy, but any channel number is OK and non-overlapping if you’re following the below advice about 20 MHz bandwidth and avoiding DFS frequencies below.
Use narrow bandwidths (20 MHz only)
If you’re in a large office building, force your AP radios to use only 20 MHz bandwidth on both 2.4 GHz and 5 GHz bands. (If you’re in a more suburban or rural setting and have few other transmitters in radio range, you may be able to increase this.)
Wider radio bandwidths of 40, 80, or 160 MHz definitely increase the maximum theoretical throughput — for example if you have only a single client and a single AP in a patch of rural farmland. Don’t get much farmland in London though! In a real-world noisy radio environment, like many of our city based clients, a wider bandwidth also increases the probability of a radio packet loss, because a collision with a competing transmission on any sub-channel corrupts the entire signal — whether due to random noise or interference from another transmitter.
Collisions are incredibly expensive as both transmitters have to back off and retry sending the packet again. In a noisy environment it may take a while before the wider bandwidth channel is entirely clear again, and devices may spend yet more time negotiating their channel bandwidths up and down dynamically.
Another way to think about this is in terms of signal-to-noise ratio (SNR). Using a wider bandwidth spreads the same signal power over a wider slice of spectrum, so there’s lower power spectral density (W/Hz), and higher total noise integrated over the wider frequency band.
Optimize your user experience for minimal packet loss, rather than maximum theoretical throughput.
Avoid DFS channels
On the 5 GHz band, there are a set of extra channels which are made available using Dynamic Frequency Selection (DFS). This is a complicated process that involves clients listening for whether weather radars are using those frequencies, and changing channels if they are.
The problem is that, by law, any detected interference must trigger the AP to stop transmitting immediately and go to a listen-only mode to find a new, unused channel. Obviously, this silencing behavior provides for bad user experience.
To compound this problem, DFS channels may not be clearly marked on your AP’s configuration! The macOS Wireless Diagnostics tool shows the DFS status in the Info pane.
If most of that sounded a lot like technical jargon; just avoid using channels 52 through 144 on the 5 GHz band.
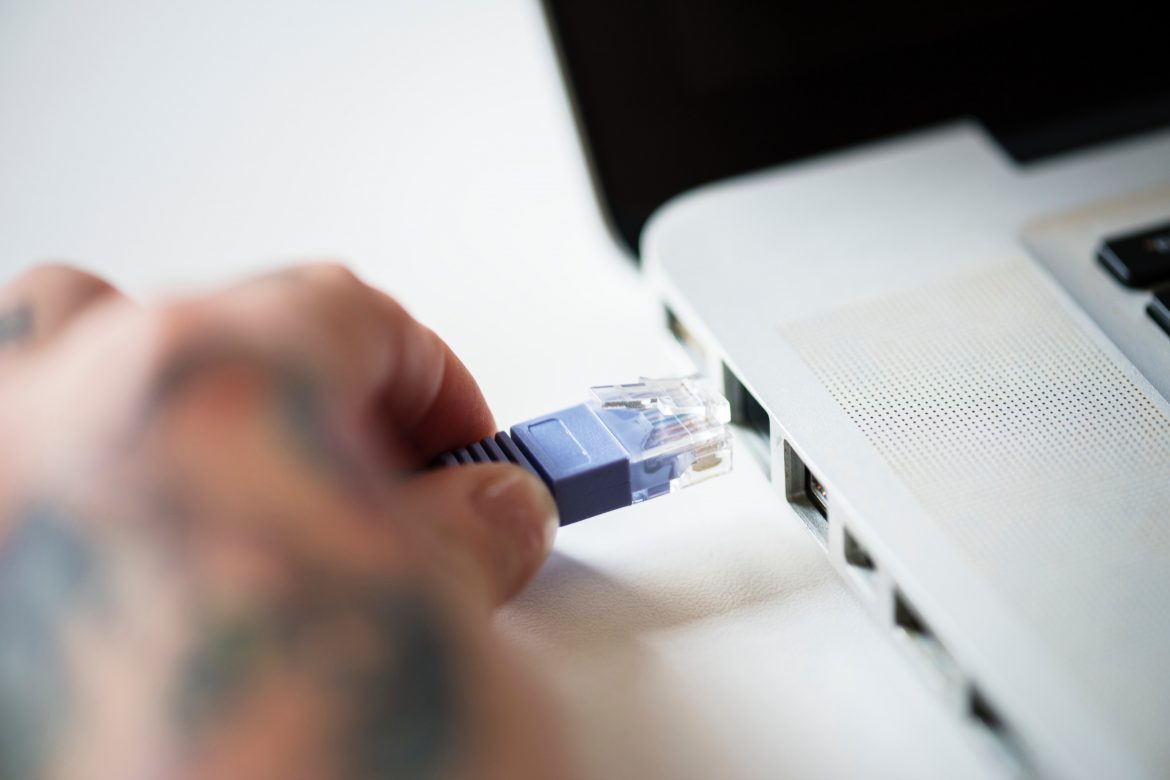
Learn to crimp and punch ethernet
If you’ve just moved into new premises or are setting up a new Wi-Fi network, you will likely find existing ethernet cables running through the walls and floors of the building, but they might all be unterminated on both ends.
For male cable ends: Buy an RJ-45 crimping tool and a bag of connectors. Cleanly cut the cable end. Trim away about 3/4” of the outer jacket without nicking the wires inside. Un-twist the twisted pairs and straighten the wires. Order them in a row in the correct order (orange-white, orange, green-white, blue, blue-white, green, brown-white, brown) with the wires facing toward the ceiling. Trim them all flush in a single cut. Slide the plug onto the wires with the latching tab facing away from you until the wires are flush with the end of the plug. Insert into the crimping tool, and crimp firmly. Double check the color ordering, that all pins are all seated puncturing down through the wire insulation, that the strain relief is on the cable jacket, and that the pins and plastic are undamaged.
For female keystone jacks: Trim away the outer jacket. Un-twist the twisted pairs. Bend them at approximately a 90 degree angle to reach the appropriate teeth on the left or right sides of the jack. Use a punch-down tool (or even a small flat-head screwdriver) to push each wire down firmly until the teeth engage, puncturing through the insulation and grabbing the wire.
Both of these skills take some physical practice and finesse. Don’t be disappointed if you don’t manage to produce working cables on your first try!
Always use EIA-586-B color coding
If you search for the specific mapping of wire colors to pins for ethernet cables, you’ll find two color-code standards: EIA-568-A and EIA-568-B. These color codes are also usually marked on female keystone jacks.
Always use B. It’s the de-facto standard. Never use A unless you’re intentionally making a cross-over cable, which is effectively deprecated in today’s gigabit Auto MDI-X world, which automatically crosses over when needed within the device.
Definitely don’t invent your own color ordering. It’s important for signal integrity to keep particular twisted wire pairs together.
Always test for gigabit
Ethernet ports autodetect whether to use 100 or 1000 Mbps when they’re first connected. Counting both ends of a cable, a working 100BASE-T (100 Mbps) connection requires only 8 of the 16 physical connections to be made successfully. A working 1000BASE-T (gigabit) connection requires all 16 of 16!
If you’re new to making cables — or even if you’re experienced — it’s easy to have 1 not-quite-right connection every now and then. If you don’t explicitly test, you’ll end up with a seems-OK-but-actually-degraded user experience.
You can check this with something like ifconfig | grep media, or you can look at the LEDs on some ethernet switches.
Note: if you have wireless clients connecting to an AP that seem to be maxing out internet speed tests almost exactly at the ~90-100 Mbps level, you probably have a bad ethernet connection to the AP.
Identify power users and provide a wired option
There’s likely 2 types of internet power users. On one end you’ll have the big power users (like engineers) who have extremely large bulk downloads. On the other end you’ll have communication centric workers that rely on things like voice and video conferencing.
The difference between these on the spectrum is throughput vs latency. Big power users like engineers with large downloads place more importance on throughput. Users that are trying to make a video conference call put more importance on latency.
For the big power users, make wired gigabit ethernet easily available For example, you could wire up every engineer’s desk plus all conference and call rooms and distribute a stockpile of USB-C gigabit ethernet adapters. Not only does this ensure big power users a trouble free network, it also lessens traffic from the shared radio bands. Win-win!
Physically protect networking equipment
It sounds silly, but a fibre-to-ethernet transceiver, primary router, and gigabit ethernet switch can be easily located in a lovely cabinet that to other office staff looks really rather tempting to use for general office storage. But this is a no-share zone unfortunately! No reams of paper in here please.
Be that person that makes a sign and posts it! It’s okay to notify people that this is fragile, important equipment — not a general storage area.
Repeat offenders could always be punished with the removal of said Wi-Fi…
Use static IPs for infrastructure
Assign static IPs for infrastructure like access points. This makes them easy to reach when reconfiguration is needed, and avoids them having to pull their own addresses dynamically.
Have a large enough DHCP pool
In a busy office, especially in today’s times of hot desking and remote working, it’s likely that you’ll have a team of permanent employees based in the office as well as those who rotate round. If each person at a desk has 2 devices with them (laptop and phone at least!) then the number if IP’s can easily sky rocket.
Many routers are configured with a fairly small IP pool allocated to DHCP out of the box. This will cause issues if the DHCP pool is exhausted. I configured our primary router to reserve 200 IPs for DHCP, leaving us about ~50 for static IP assignments. We use a 1-day DHCP lease time so unused addresses can be returned to the pool fairly quickly, while not requiring DHCP renewals during the workday.
If you have multiple APs, make sure only a single device (usually your primary router which is doing NAT) is configured as a DHCP server.
Label and document everything
It makes a lot of sense – For you, and future users – to individually number and label ethernet cables with permanent marker.
You could also create a shared document detailing configuration settings for all APs and routers, screenshots, static IP assignments, wireless channel map, and upstream provider support contact info.
Be your future friend and do this! Then if you do run into any problems they are more easily solved.
Stick to these suggestions and you’ll likely have a trouble free network – And a happy life free of disgruntled end users. What you want is excellent speedtest results for both wired and wireless users, as well as a network that you can reply on.
There is a lot of technical jargon in this so I have to go back to where I started and say… Who you gonna call? Call us here at Geekabit and leave the Wi-Fi deployment to us. We’ll get your network up and running and your office online faster than you can say slimer!