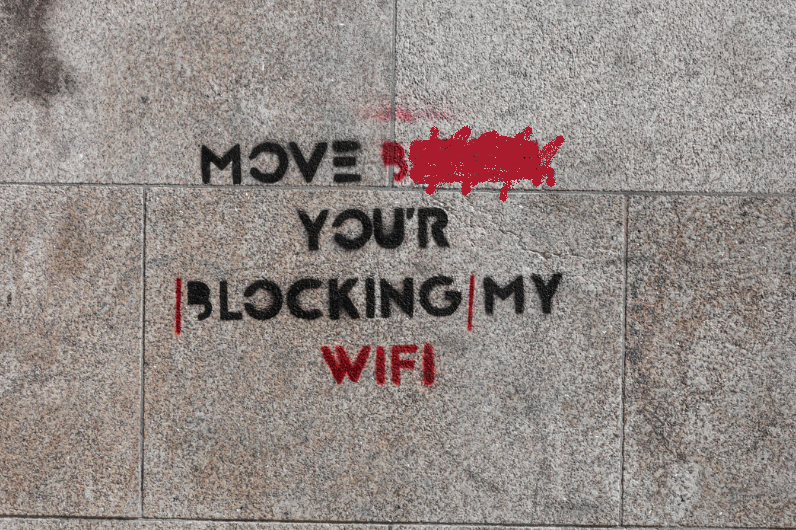
Are you having problems with your Wi-Fi? Perhaps you didn’t carry out a Wi-Fi survey prior to designing and installing your network – Or maybe you skipped the design bit altogether!
Dodgy Wi-Fi can sometimes be put down to attenuation, or loss of signal. The main causes of this are the distance the signal is travelling from the transmitter, and objects in the way like walls.
It’s paramount that when you are designing a Wi-Fi network in a walled environment like an office, that you take into account things like walls and their attenuation values. These values can then be used in the design process, indicating where best to place devices and simulate any potential problems that may arise.
Not all walls are the same. Different materials will have a different attenuation value – Basically, some walls will block Wi-Fi signal more than others. Some may be plasterboard, or using plasterboard as a disguise over another material such as brick, concrete, or other materials.
Whatever the material, it’s important to identify what it is and how successfully a signal can get through. Here’s how you can go about measuring the attenuation of a wall.
What you will need:
- Something to generate Wi-Fi. This could be the hotspot function on your smartphone, a WLAN Pi in hotspot mode powered by a USB, or a battery pack powered Enterprise grade AP. You need to be able to control the transmitting power and the channel so that your measurements will be consistent.
- A device with which you can measure Wi-Fi. This can also be done with a smartphone through AirPort Utility on iPhone or Aruba Utilities on Android. You could also use an AirCheck G2 or an Ekahau Sidekick. The device you choose will need to enable you to scan only the channel your Wi-Fi generating device is on.
What to do:
- Identify the wall you are wishing to test.
- Place the Wi-Fi generating device at least 4m from the wall, with nothing in-between the device and the wall.
- On the measuring device, set the channel to only the scan the channel that your generating device is using.
- Point the measuring device towards the generating device on the near side of the wall, making sure that there is a direct line of sight between the devices. Make sure you do not sit or stand between them.
- Take a few sets of measurements and make a note of the values. Identify the average for the near side of the wall. You could call this A.
- Next, move the measuring device to the other side of the wall, directly in line with where it was before. Again, point the measuring device towards the generating device.
- Just like before, take a few sets of measurements and make a note of the values. Identify the average measurement for the far side of the wall. You could call this B.
- Work out the wall attenuation: A – B. Make a note of this and document it.
Now you know how much the wall is (or isn’t) blocking the Wi-Fi signal. This can help you identify the best positions for devices like routers and access points when designing and installing your Wi-Fi network.
Thinking this all sounds a bit complicated? Luckily for you, our expert Wi-Fi engineers here at Geekabit are pros at carrying out this sort of investigation. We offer site surveys, Wi-Fi design & planning and Wi-Fi installation.
If you already have a Wi-Fi network set up, but have a sneaking suspicion that a particular wall might be causing you problems then we can also help diagnose any Wi-Fi issues in an already established network.
Get in touch with us today to see how our Wi-Fi experts can help you.
